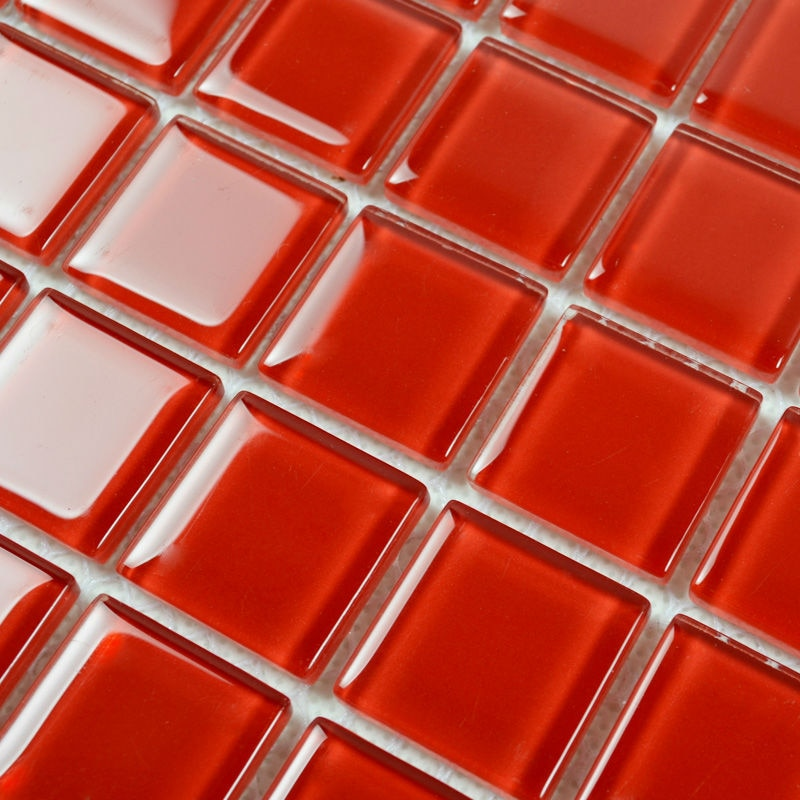
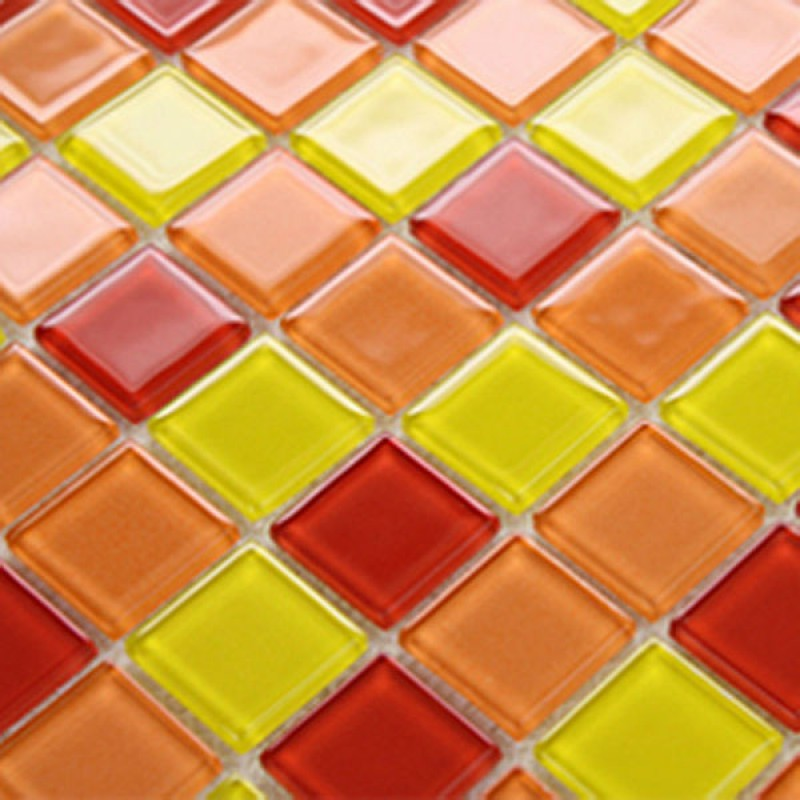
How to install Red glass mosaic tile in swimming pool in 2021?
2021.11.03 / By hqt
What to prepare for mosaic tile installation?
1. Surface preparation, panel placement
For the Red glass mosaic tile work to have high aesthetics, the steps to prepare the tiling surface need to adhere to the following principles:
- The surface of the cladding must be flat, without small pits, and must not differ by more than 3mm.
- Ensure the hardness of the surface, no subsidence. We can check by hand or hammer to knock.
- Before tiling, the surface should be dry and free of water so that the tile adhesive achieves the highest adhesion.
- Surface is clean, not too much dust. It is recommended to use a cleaning brush to wipe it before proceeding.
2. Prepare the Red glass mosaic tile laying tools
- Red glass mosaic tile glue, glue stick
- Sawtooth flying, traditional flying
- Rubber hammer, tape measure, ruler
- Glue mixing tank, mixer
- 2 pieces of water sponge
3. Prepare bricks
- Absolutely do not soak bricks in water.
- Make sure the tile is always dry before tiling
4. Mixing Red glass mosaic tile adhesive to prepare for construction
To increase the durability of the construction, the service life, the adhesion rate, the glue mixing step must follow the following process:
- Proceed to put clean water in the bucket to make sure the room temperature and the water are equal.

- Slowly pour the glue into the bucket of water in the correct ratio: Water/glue 1/4 (by weight) or Water/glue 1/3 (by volume).
- Stir by machine with slow speed slowly or stir by hand until the Red glass mosaic tile glue mixture is homogeneous, cassava is not lumpy, smooth.
⇒ Note:
- Do not add water after mixing.
- After mixing, it should be left for 3-4 minutes before plastering on the surface.
- Only use the mixed glue within 2-4 hours to ensure the adhesive performance.
Instructions for properly installing Red glass mosaic tile
The process of pasting mosaic tiles includes the following #5 steps.
Step 1: Waterproofing the swimming pool before tiling
Swimming pool waterproofing is an extremely important step that is put on the top in every project. It prevents the risk of water seepage from the outside to the inside and vice versa to protect the connection of the Red glass mosaic tile together. So let's complete each waterproofing step properly before proceeding to the next steps.
Step 2: Check before construction
- Check the above prepared tools to make sure they are complete.
- Check the glued surface such as plastered wall, concrete wall and foundation elevation, drainage inclination, pool wall flatness to ensure flatness, no distortion, no roughness.
- Make sure the plumbing, electrical lines, pool lights are complete.
Step 3: Apply tile adhesive to the wall
Proceed to spread glue 2 - 3mm thick on the surface and then create a flat layer of glue that we have just put on. Then use a serrated trowel to create grooves that increase adhesion (It is important to ensure that the glue is spread evenly so that the tile is uniform and not high and low).
Step 4: Apply Red glass mosaic tile
- First, we must position the wall according to the size of the Red glass mosaic tile grid with the locating wires, measuring from left to right from top to bottom.
- Stick the tile on the pre-applied glue, then use a rubber hammer to tap it evenly to increase adhesion.
- In the case of tiling on the wall, it is recommended to stick the tiles from the ground up and have struts to prevent the tiles from slipping.
- Pay attention after completing this step to avoid letting water in.
Step 5: Fill the circuit and clean the Red glass mosaic tile surface
- After construction, it is necessary to wait 24 hours for the tile to be firmly glued on the glue. Use a soft brush and a clean brush to make sure the circuit is >5mm deep.
- Mix the sealant with water according to the ratio on the package and then use a plastic brush to push the glue down the slot.

- After applying the glue, let the Red glass mosaic tile surface dry for about 30 minutes, then use a rag or sponge to wipe off the excess glue outside the circuit.
- Continue to leave for about 1 hour, then use a rag to wipe again to prevent the circuit from jagged and foam.
Notes on Red glass mosaic tile construction
- Do not apply on uneven, undulating and rough surfaces.
- Do not rub the grout until the glue is completely dry. If you rub the grout while the glue is still wet, it will be trapped by the water, and the residue or salt that is insoluble in the water will cause stains when the water evaporates.
- Tiles should not be installed on rainy, wet days, which will prevent the glue layers from drying.
- Construction time is 45 minutes for all types of glue, so it is necessary to mix the glue until it is used up.
- After gluing the tile, absolutely do not let water flow in.
Instructions for choosing the size of mosaic tiles for each specific space
Choosing the size of Red glass mosaic tile seems simple but not really, in fact, manufacturers design tiles with different sizes to use tiling for separate spaces. Therefore, the investor must know how to choose a reasonable size brick to increase the aesthetics of the project and ensure the durability of the brick.
Usually, a brick grid has a size of 300 x 300 (mm) or 327 x 327 (mm) and small bricks are from 2 to 10 (mm). Customers can choose the product according to the tiling location and scale of the project. Here are some suggestions of Union, please read for reference.
What size swimming pool Red glass mosaic tile are appropriate?
For tiling all types of swimming pool projects for families, businesses, and schools, we recommend that you choose tiles with the size of large blisters that will increase the aesthetics of the project and the cost of this type of tile is also cheap. helping to save investment costs. Here are some specialized samples used for tiling for swimming pools.
Conclusion
Most of the bathroom space for each family is quite small, not too large. Therefore, we recommend you to choose large-sized glass tiles to create ventilation, balance the overall space, easy to clean, clean due to less grouting.
In addition, the use of large bricks and bricks helps to make the space less cramped, creating an uncomfortable feeling. Therefore, the choice of brick color will make the bathroom space more luxurious and modern.

